YoloV5介绍
环境基础
python => 推荐使用anconda进行安装 使用conda创建环境_速通版 | lihuibear
pytorch 安装 =>根据CUDA版本 Pytorch | lihuibear
opencv安装 => 根据yolo需要
pip install -r requirements.txt =>依据配置安装
模型下载 下载 yolov5s.pt 模型
环境测试
安装环境完成后,测试环境,运行detect.py,输出对应信息
输出
detect: weights=yolov5s.pt, source=data\images, data=data\coco128.yaml, imgsz=[640, 640], conf_thres=0.25, iou_thres=0.45, max_det=1000, device=, view_img=False, save_txt=False, save_csv=False, save_conf=False, save_crop=False, nosave=False, classes=None, agnostic_nms=False, augment=False, visualize=False, update=False, project=runs\detect, name=exp, exist_ok=False, line_thickness=3, hide_labels=False, hide_conf=False, half=False, dnn=False, vid_stride=1 YOLOv5 150a1a3 Python-3.8.19 torch-2.4.1+cu118 CUDA:0 (NVIDIA GeForce RTX 3060 Laptop GPU, 6144MiB)
Fusing layers... YOLOv5s summary: 213 layers, 7225885 parameters, 0 gradients, 16.4 GFLOPs image 1/2 F:\code\yolov5\data\images\bus.jpg: 640x480 4 persons, 1 bus, 46.5ms image 2/2 F:\code\yolov5\data\images\zidane.jpg: 384x640 2 persons, 2 ties, 147.6ms Speed: 0.8ms pre-process, 97.0ms inference, 73.3ms NMS per image at shape (1, 3, 640, 640) Results saved to runs\detect\exp5
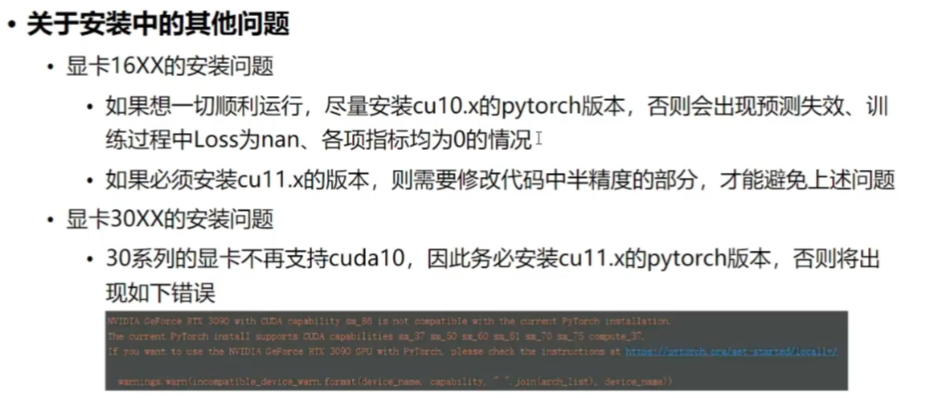
其他问题